Building a cat litter box reminder with Rust
Contents
I continued working on a side-project I built a year ago with Rust, and it is now at a point at which I can write something about it.
When you own cats, you also own a litter box for said cats which needs to be emptied regularly (at least once a day for two adult cats). Failing this, the cats will give you a look which, in human language, means as much as “I will murder you in your sleep” which is not a very pleasant feeling.
Since I noticed that I tended to forget to empty the litter box rather frequently, I set out to build an annoying device which would help me remember bother me enough to empty it.
The device and its features
Since I still had (and still have) quite a few Raspberry PI LED strips lying around, I opted to use those to build a visual, color-coded reminder to be placed somewhere near the litter box.
The main features of the Cat Litter Reminder are as follows:
- the LED strip should cycle through a few colors (light green, dark green, orange, red) after some time elapses (respectively 8, 12 and 24 hours)
- failing this, it should start blinking in red (after 26 hours)
- when a push button is pressed, the state should be reset. In the video above, it is visible that I appear to have misplaced the push button.
- an additional feature request from my wife was introduced a few weeks after the launch of the device: to turn off the lights at night (a bright red light blinking when getting up in the middle of the night is a bit of a nuisance)
For the first iteration of the project, we’ll therefore need to detect a button press, drive the LED strip and implement a bit of logic around this. Let’s start.
Detecting a button press
In order to detect a button press, we’ll connect one of the free GPIO pins with ground and a 230 Ω resistor.
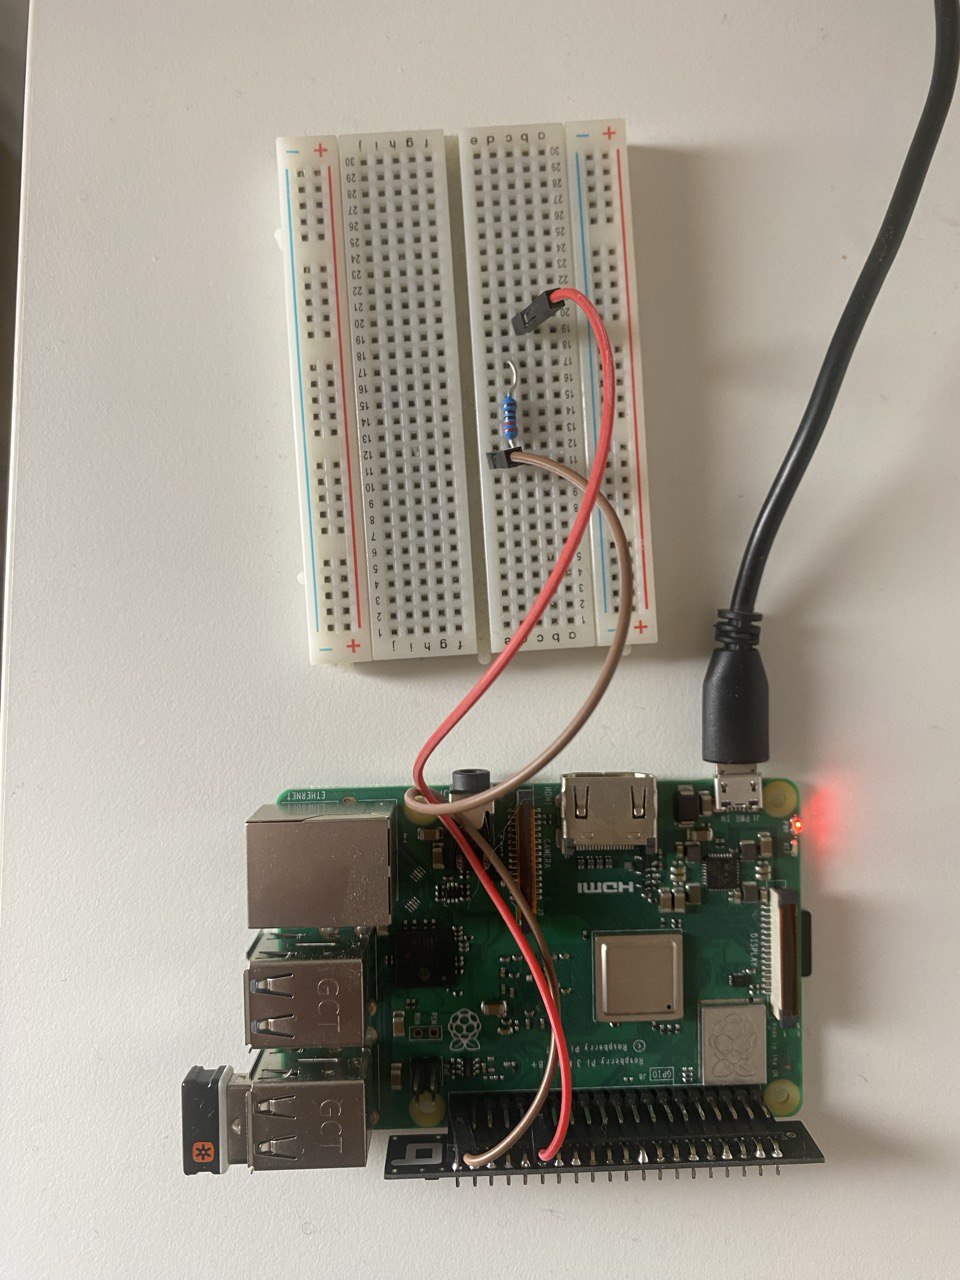
Using the gpiod crate, we can read the state of the button, like so:
| |
Using this approach it is possible to detect when the push button (which I really need to find back) is pushed and released. For simplicity in this project we’ll simply act on a button push (without waiting for a release).
Changing the LED colors
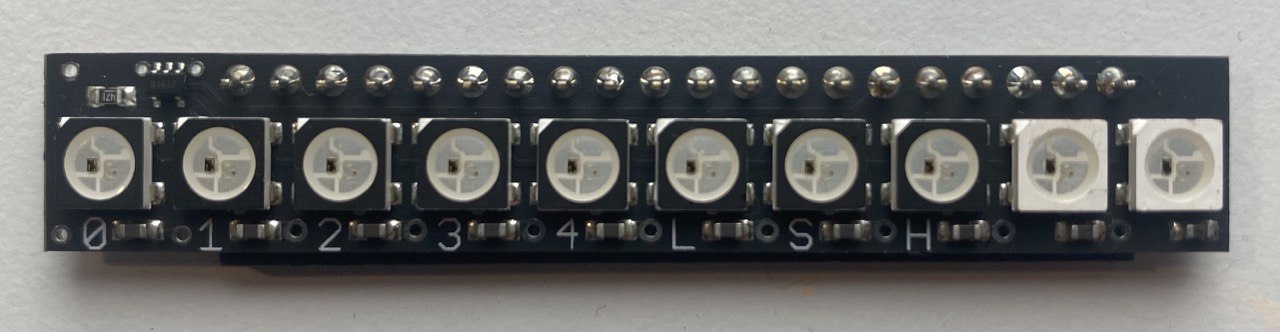
The LED strips are using WS281X LEDs. There are several crates out there for driving these LEDs from Rust, I ended up using the rs_ws281x crate, i.e. the Rust bindings for rpi-ws281x library.
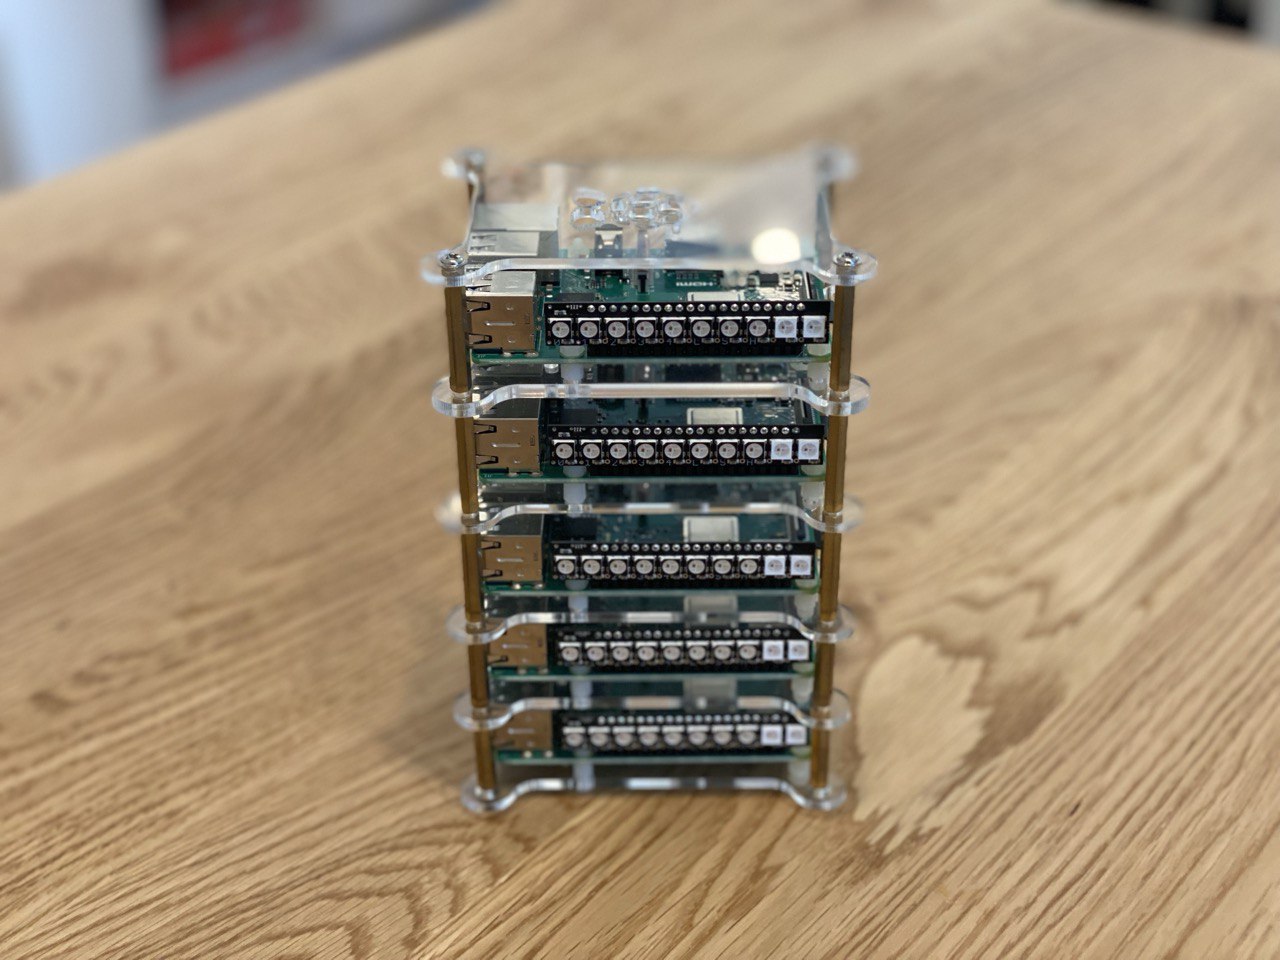
At this point you may be wondering why we’re using a whole GPIO line in order to drive the LEDs, since it only requires one pin to drive the strip. The reason is that those strips were specifically designed in order to allow building small Raspberry PI towers for creating distributed systems demonstrations.
Access to the LED strip is provided through a Controller which allows to set the color of each individual LED on the strip:
| |
This controller gives us access to the LEDs in the form of a mutable slice pointing to the color array to be written to the LEDs. In other words, we have to iterate over the slice and set each color individually. Since in our case we want to set all the LEDs to the same color, we’ll just write a function to do just that.
First we’ll wrap the Controller into a custom struct:
| |
And then implement a function to set the strip color:
| |
Note that RawColor is a type alias for an array of 4 elements:
| |
For example, in order to obtain orange on the strip, we need to use:
| |
Don’t ask me what the color coding of the strip is. It’s not RGB, it’s not CMYK. It’s just weird.
Now that we’ve got programmatic access to the hardware, let’s go and implement the logic for tying everything together.
Tying it all together
The control program holds the following two pieces of information in its state:
- the timestamp of the last button push. This is assumed to be the time at which the litter box was cleaned the last time (in practice, it could also be the time at which someone got too annoyed at the annoying red blinking pattern)
- whether the LED strip is currently on or off, which is required in order to implement the annoying red blinking pattern
The current state of the LED strip is computed based on the time elapsed since the last button push. We use an enum with an impl block to represent this:
| |
Grouping the state and the functions associated with it this way makes (in my opinion) for cleaner code.
We hold the state (together with what’s required to drive the LED strip and read the button state) in a struct:
| |
Finally, the implementation of the main loop is the following:
| |
Note that with this approach, we’re going to be setting the LED strip color at each loop iteration, regardless of it having changed or not. This could be improved by including the previous LED strip state as part of the state, but in practice I found that there doesn’t seem to be an adverse effect on the strip (and I kind of suspect the driver to not actually do anything when changing the color to the same color).
What’s next
I built the first version of this project over a year ago when I set out to learn Rust. When I finally decided to write this post, I took a hard look at the old code, threw most of it out, and wrote what is shown in this article - which is much simpler than the first attempt (I think this is a good sign).
You can find the complete source code on GitHub.
What’s next for this project is to create a networked version: having another one of these devices in my office, as well as a few more of them sprinkled all around the flat would help to be really, really annoyed by the red blinking when failing to clean the cat litter box in time (believe it or not, I got used to the red blinking a few weeks, which kind of defeats the entire purpose of this endeavour).
Stay tuned!