Tour of Akka Cluster – Testing with the multi-node-testkit and a handful Raspberry PIs
Contents
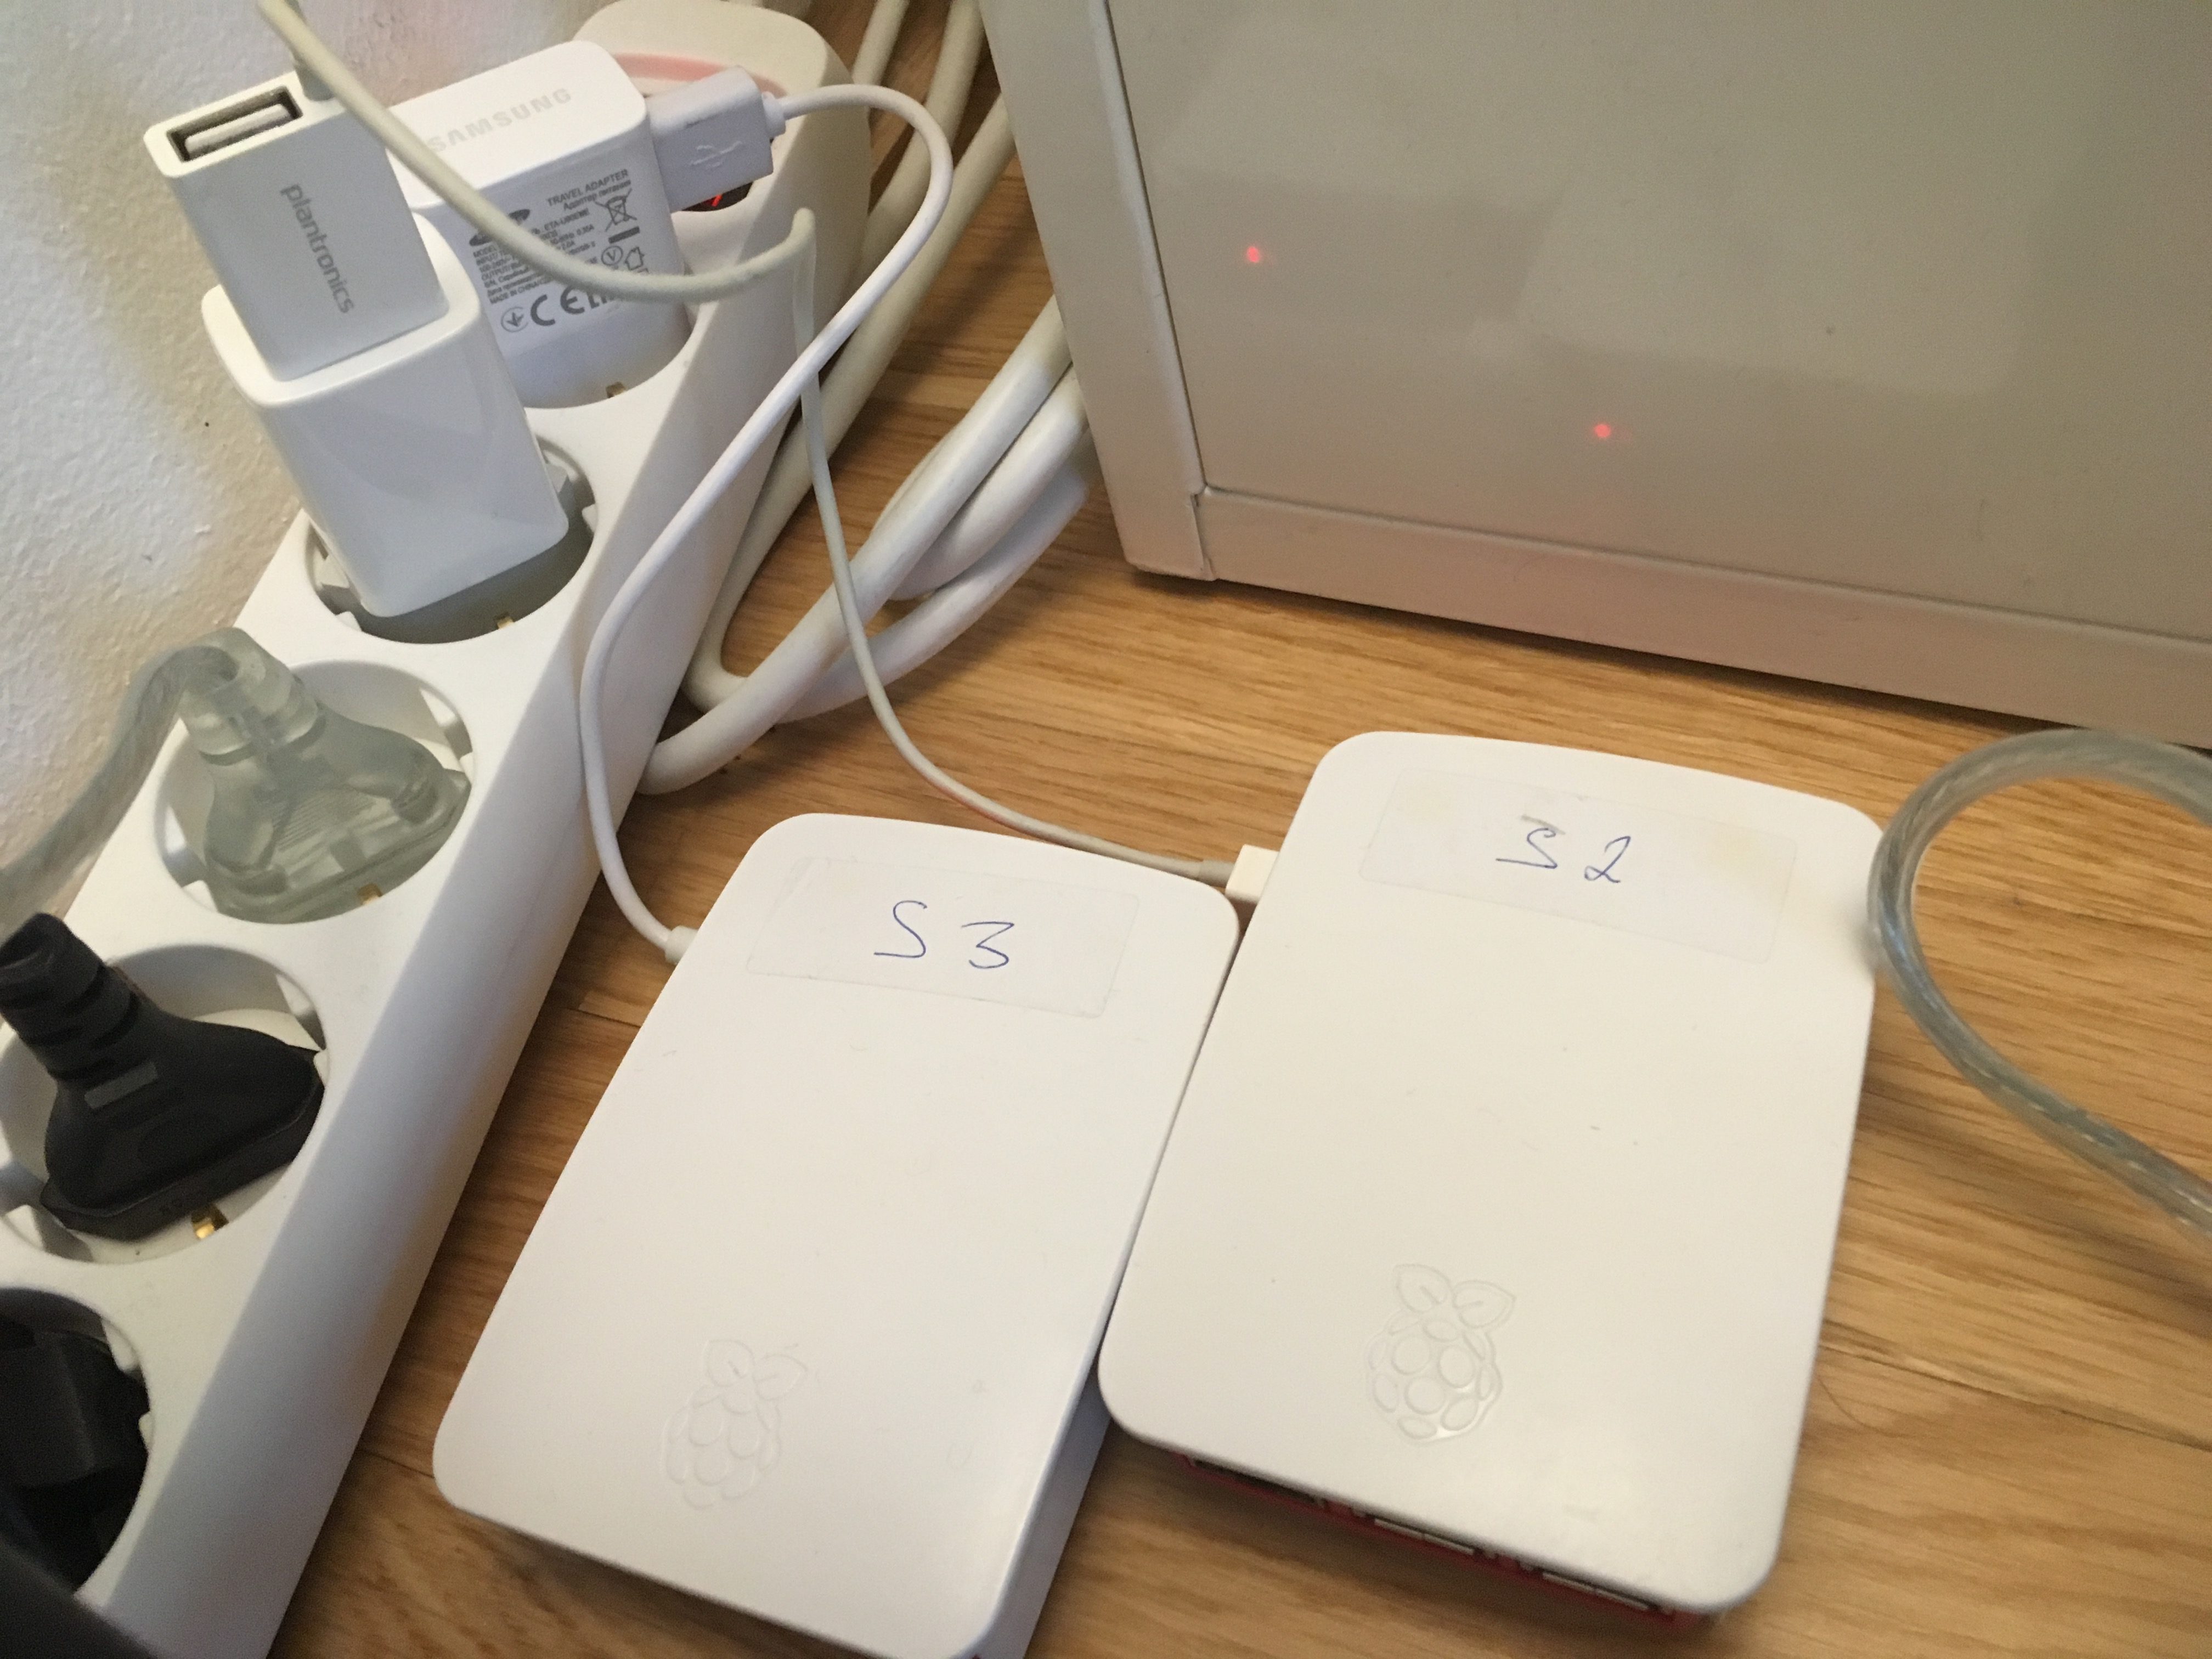
In the previous parts of this article series, we have looked at various functionality of Akka Cluster: distributed data, persistence, message delivery semantics and cluster sharding. We are far from done with exploring Akka Cluster features, but today it is time to look at one feature that is extremely useful when it comes to building production-quality systems based on Akka Cluster: the test support. As testing itself isn’t the most exciting activity there is, let’s space this article a bit up by throwing a few Raspberry PIs in the mix:
We will first start by creating a multi-node test to be run on a local machine and then do the necessary adjustments to run it on the Raspberry PIs.
Writing multi-node tests with the multi node spec
Akka’s multi-node spec brings in the necessary tools to write tests in which multiple nodes can interact with one another. This means performing tasks such as:
- easily manipulating node addresses instead of hard-coding them
- running test code on particular nodes (as opposed to all nodes)
- instructing nodes to wait for one another (for example, wait for all of them to having properly joined the cluster)
Akka’s multi-node tests are driven by the test conductor which plugs itself in the network stack and does all the necessary work to allow the above mentioned tasks to work. In addition, it can be used to do quite useful things such as entirely disabling the traffic between specific nodes (this functionality is appropriately called “black hole”) or to worsen the network conditions (throttle the rate, for example).
In order to write tests with the multi-node spec, we need to setup the correct project and build dependencies, connect the multi-node spec to the test framework in use as well as define a multi-node configuration. Let’s get started.
Configuring the project and build dependencies
We’ll need the normal Akka TestKit (e.g. checking for expected messages) as well as the multi-node testkit. Both of these are to be added in the libraryDependencies in build.sbt:
| |
This gives us the necessary tools to write the tests, but we won’t be able to run them. For that, we need to add the sbt-multi-jvm plugin in the project/plugins.sbt file:
| |
This sbt plugin is called multi-jvm-plugin because it can, as its name indicates, run multiple JVMs - essentially allowing to run cluster tests locally by running multiple JVMs. That being said, the plugin has been enhanced to also be able to package, deploy (via ssh and rsync) and run tests on multiple machines, which is what we’ll subject the raspberry PIs to.
Finally, we also need to load the appropriate settings in build.sbt to be able to run the sbt tasks:
| |
Now that we are set, we can connect the multi-node spec to
Connecting the test framework
We’re using ScalaTest here but another framework could be used as well, which is why this step is necessary. We’re simply defining a custom trait that extends akka.remote.testkit.MultiNodeSpecCallbacks class and overrides the beforeAll and afterAll methods. This trait should be placed in the test classpath:
| |
When writing a multi-node test, we now have the necessary ScalaTestMultiNodeSpec trait to get started with.
Defining a multi-node configuration
The last building block we need - and which may differ from one test to the other - is the configuration we want to apply to all nodes, and to each node in particular. This is done by extending the akka.remote.testkit.MultiNodeConfig:
| |
In our case, we plan on running the test on 3 nodes, each of which has a different cluster role. Since we are using the file-based LevelDB plugin for Akka Persistence we also need to tell each node to store the journal in another directory or else we’d have clashes when running this on the same machine.
Great! Now we are all set to finally write a test!
Scaffolding a cluster test with the multi-node spec
The first thing we’ll want our test to do is to bootstrap the cluster. This is a manual step: in a real system, we’d configure seed nodes and have it bootstrap automatically, but in this case we do not want to have to hard-code seed node addresses and furthermore, we want to verify that our cluster has formed before running any “real” test. This part is a little bit cumbersome and I suppose there could be a convenience mechanism added to the multi-node testkit to make this easier. In our case, it turns out that we actually also want to have fine-grained control in order to be able to use the ReactivePaymentProcessor API from the tests.
| |
The first thing to notice here is that any code in the spec that is not surrounded by a runOn block will be executed on each node. This takes a bit to get used to. Also, it is not always what we want, hence the runOn convenience method to restrict the execution to one or more nodes.
The test code above may look a bit cryptic, but we really don’t do very many complicated things. All we do is, for all nodes, to:
- subscribe to
MemberUpcluster events right at the beginning so as to be able to checked later on - for each node - that it has seen all nodes move to the “Up” state - instruct the node to join node1
- initialize the
ReactivePaymentProcessor, which results in bootstrapping the application - check that we have received
MemberUpevents for all nodes - enter the
all-upbarrier
Those steps are pretty common uses of the Akka Cluster API and our own API, except for the last one. Let’s have a look at it more in detail since it is one of the core mechanisms behind writing multi-node tests
Barriers

The multi-node testkit provides the means of setting up barriers. This mechanism that ensures that each node will wait for all other nodes to have also entered the barrier, and that they will all only jointly make progress when every node has reached the barriers. Barriers can be set anywhere in a test case, be it in the middle of it to wait for a condition or at the end, to wait that all nodes have executed the test case. Without it, the test execution on each node would move along independently, regardless of whether other nodes are done with the test and start executing other test cases.
Defining a test case for each node
Now that we have a base spec, we need to define 3 classes, one for each one of the nodes. This is used by the sbt-multi-jvm plugin to automatically generate the necessary configuration files used by the multi-node testkit. It is a bit dull, but it’s not too bad:
| |
Writing the real first test case
Now that the first test case has taken care of bootstrapping the cluster and the application, we can proceed to writing a test for our reactive payment processor. Note that this is an integration test and not a unit test — the individual test cases are not independent of one another.
Let’s check if our system processes a valid transaction:
| |
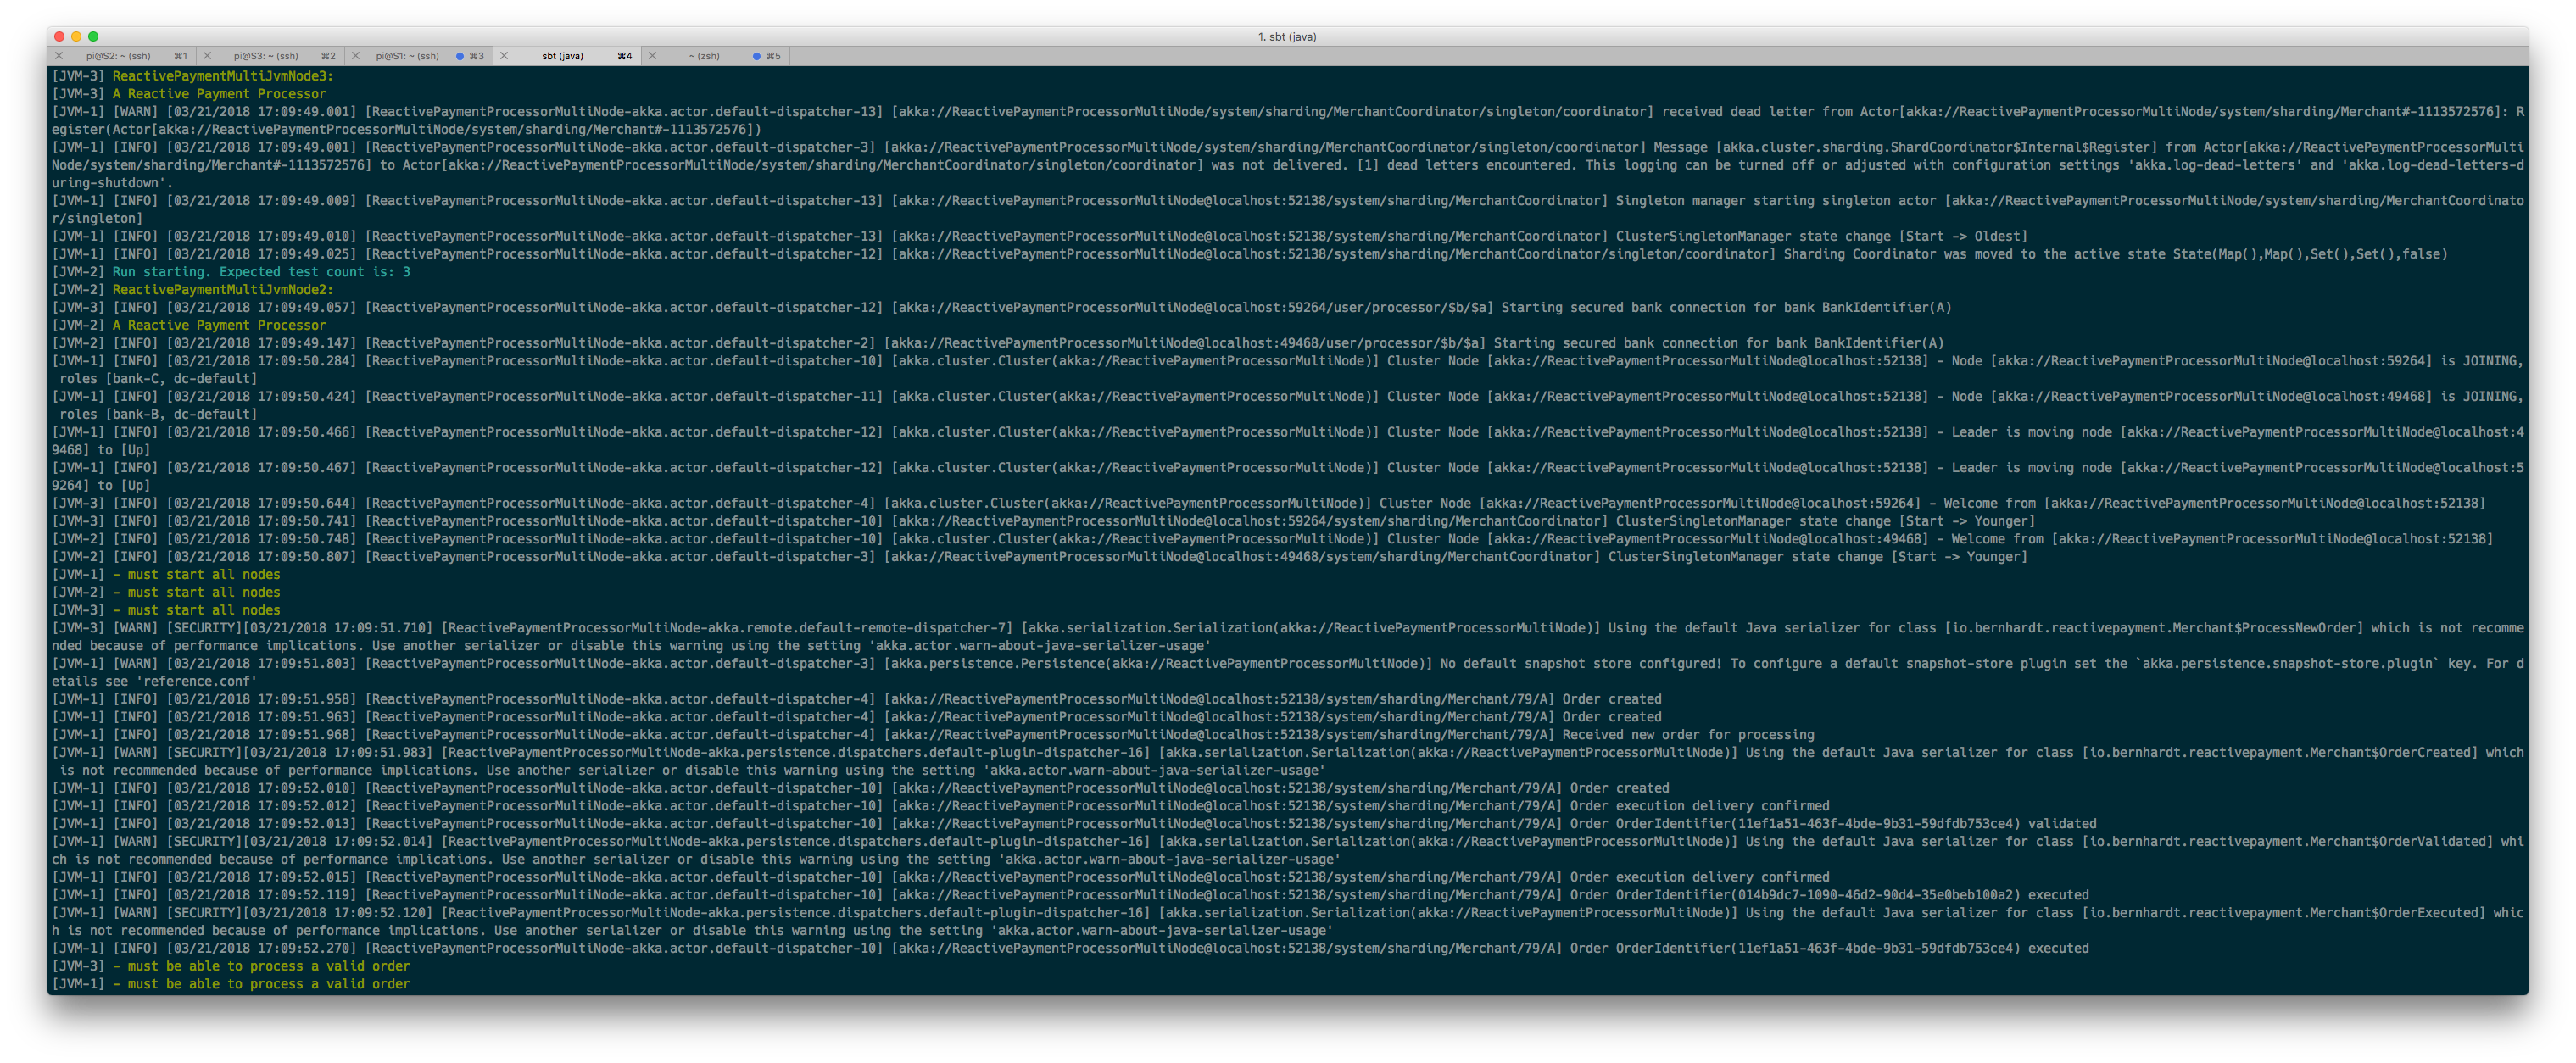
And that’s pretty much it! The ReactivePaymentProcessor API defines a simple processPayment method which will process a payment using various techniques (depending on which approch you are using). We can now go ahead and run the test case locally using the multi-jvm execution mode. In the sbt shell, type:
[master] root: multi-jvm:test
As expected, this first bootstraps the test and runs it in the new browser:
Now that we have a running test case, let’s move to set it up to run on our Raspberry PIs!
Using the multi-node spec on real Raspberry PI nodes

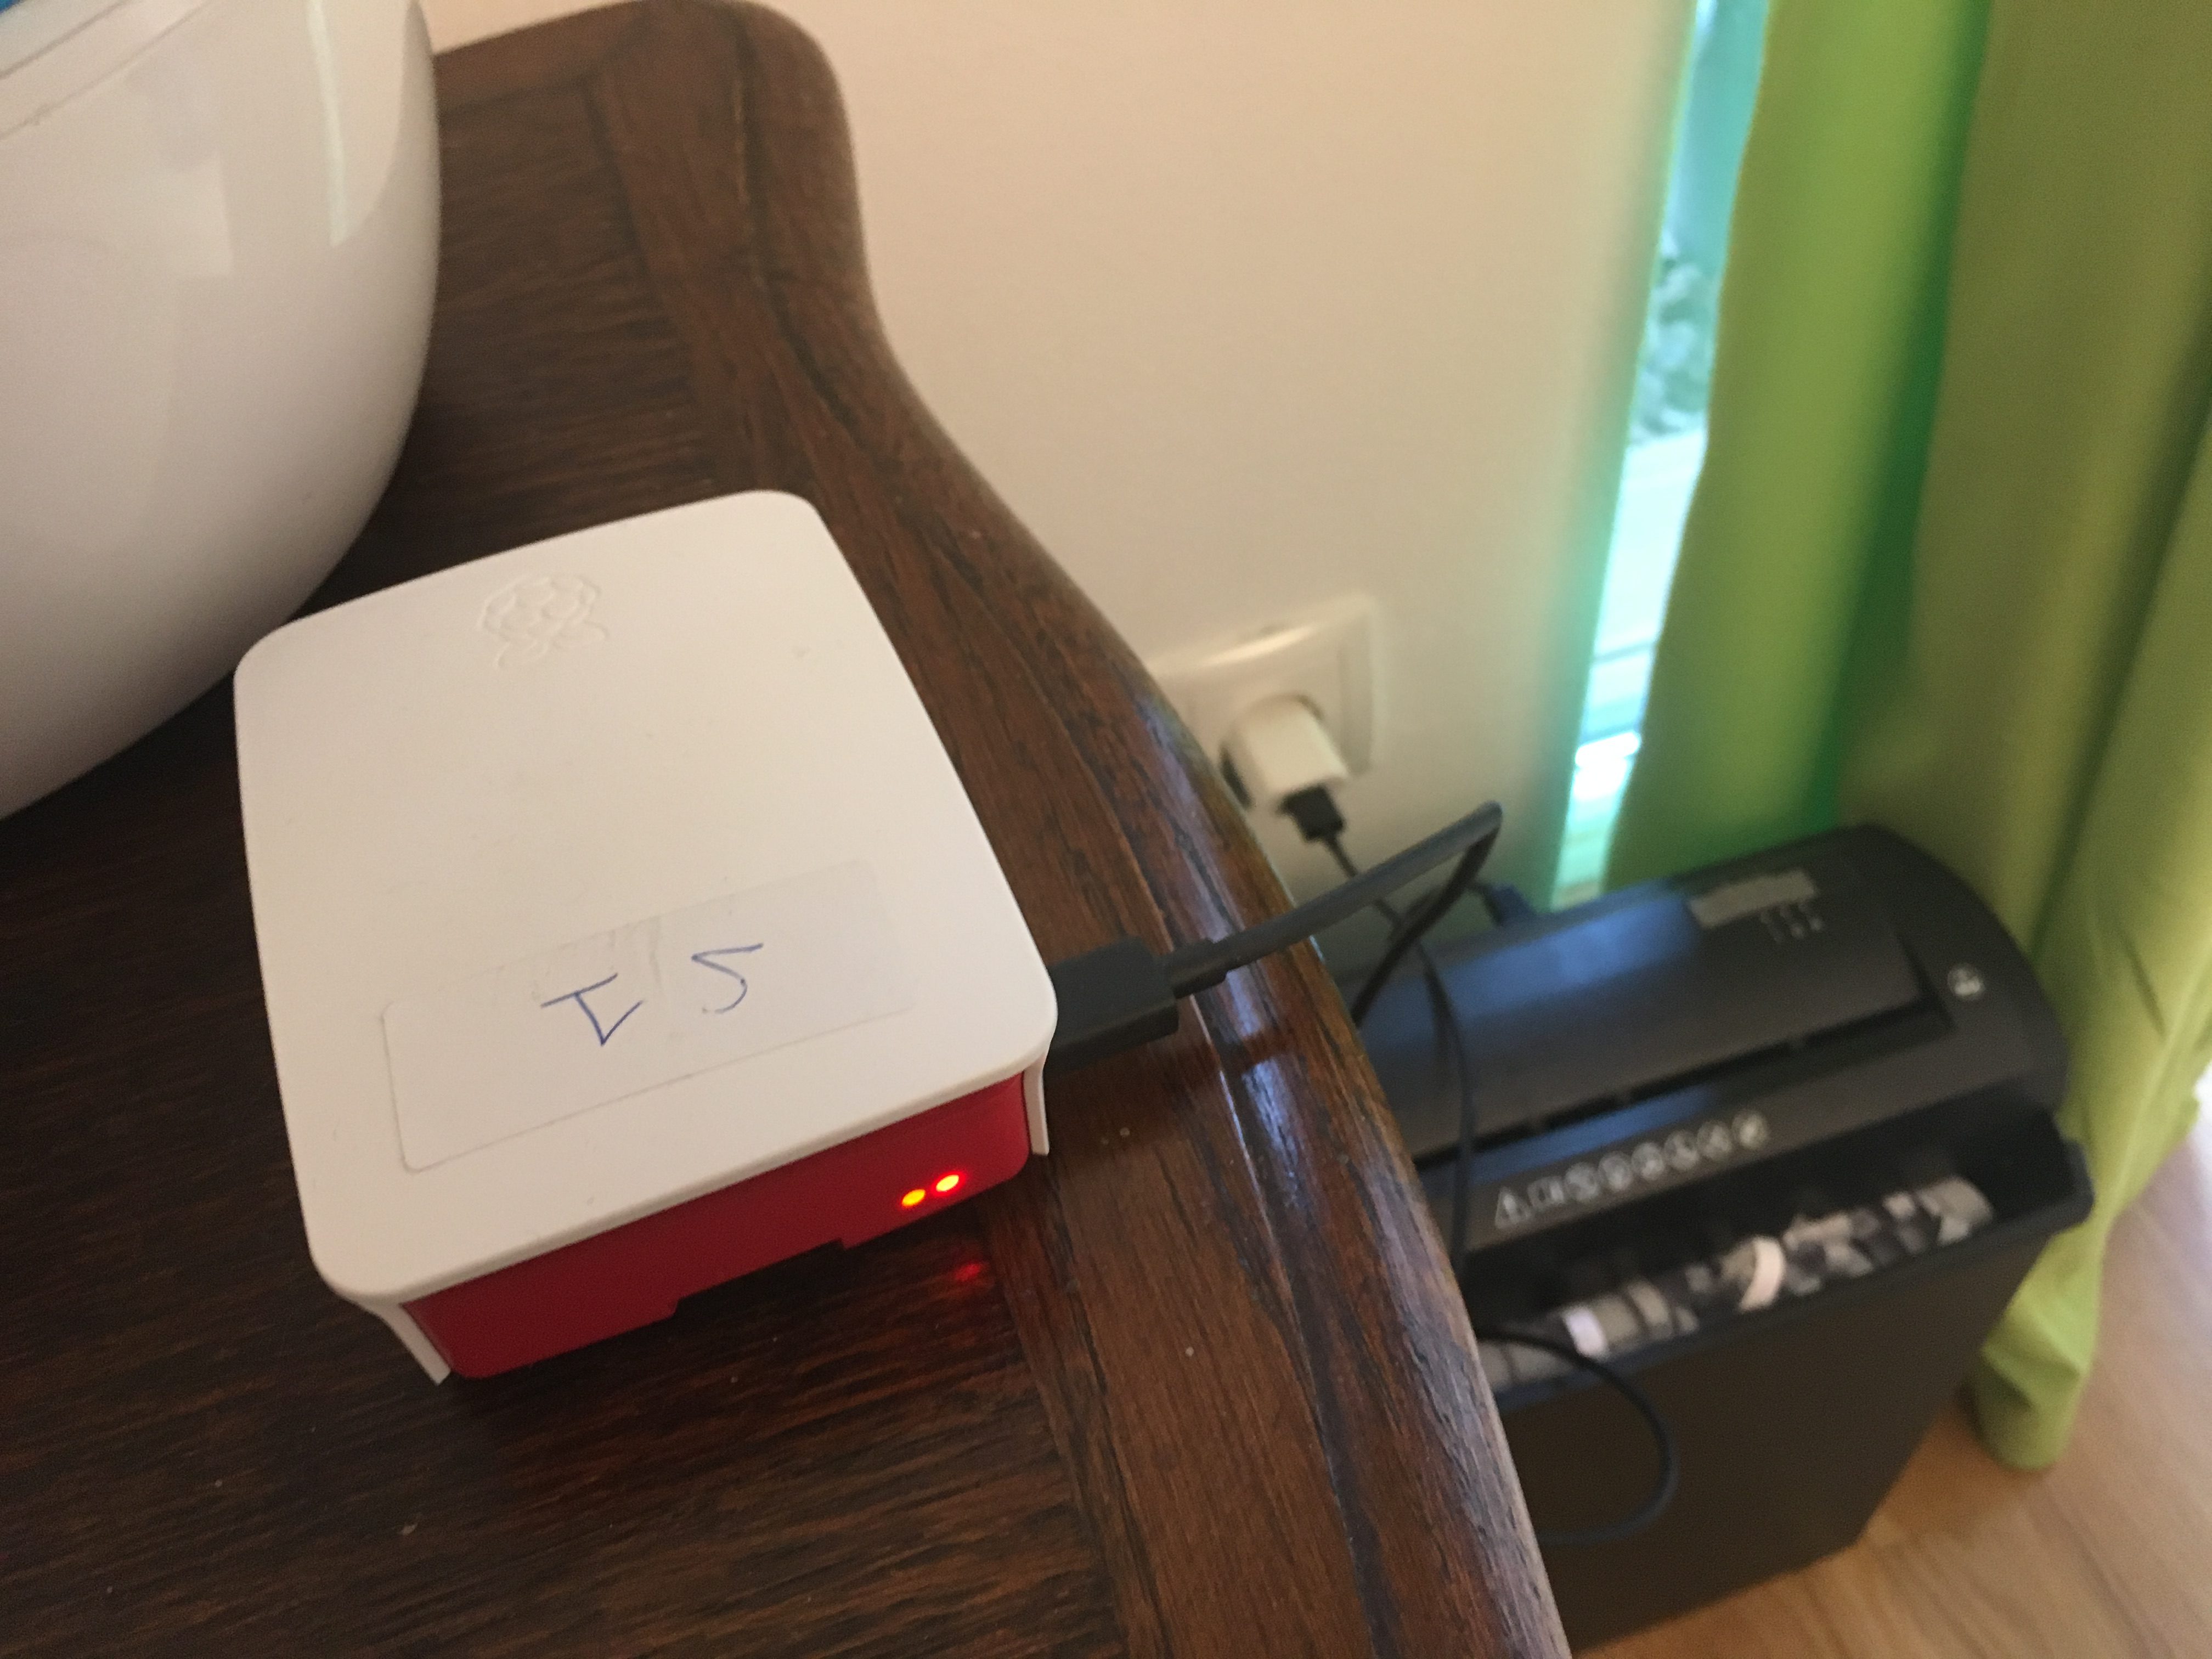
The Raspberry PI is an affordable and easily transportable, yet performant enough device to run Akka Cluster on it. I use it during training or when demonstraing Akka Cluster with prototypes as I wrote about it previously.
Setting up the Raspberry PIs
For this setup I used Raspbian Stretch Lite with Java 8. Oracle’s Java 8 can be simply installed as follows:
sudo aptitude install oracle-java8-jdk
This won’t install the latest version of Java 8 but it is good enough for our purposes. Don’t use it for production tough - the current version is Java 10.
Since I didn’t want to have cables lying around my office I opted for using Wifi connectivity using wpa_supplicant which is installed by default in this distribution. I think the configuration can also be established using the raspi-config utility, but I’m old school, so here is the wpa-supplicant.conf:
pi@S1:~ $ sudo cat /etc/wpa_supplicant/wpa_supplicant.conf
ctrl_interface=DIR=/var/run/wpa_supplicant GROUP=netdev
update_config=1
network={
  ssid="Office"
  psk="hunter2"
  key_mgmt=WPA-PSK
}
Make sure to enable SSH - this can easily be done in raspi-config as well.
At present, you should be able to SSH into each Raspberry PI from your computer. In order not to have to enter any passwords, copy your public SSH key (by default in your $HOME/.ssh/id_rsa.pub file) onto each PIs /home/pi.ssh/authorized_keys file.
Configuring the multi-node testkit
The last bit of configuration we need to do is to tell the testkit which servers it should use. We do this in build.sbt by specifying the multiNodeHosts key:
| |
That’s it! S1.local, S2.local and S3.local are the hostnames of the PIs (if your home router is configured to call the local subnet local - if not, you may as well use the IP addresses). I find it useful to enable Debug logging at this stage so as to see exactly where the multi-node kit is trying to connect to, in case it fails.
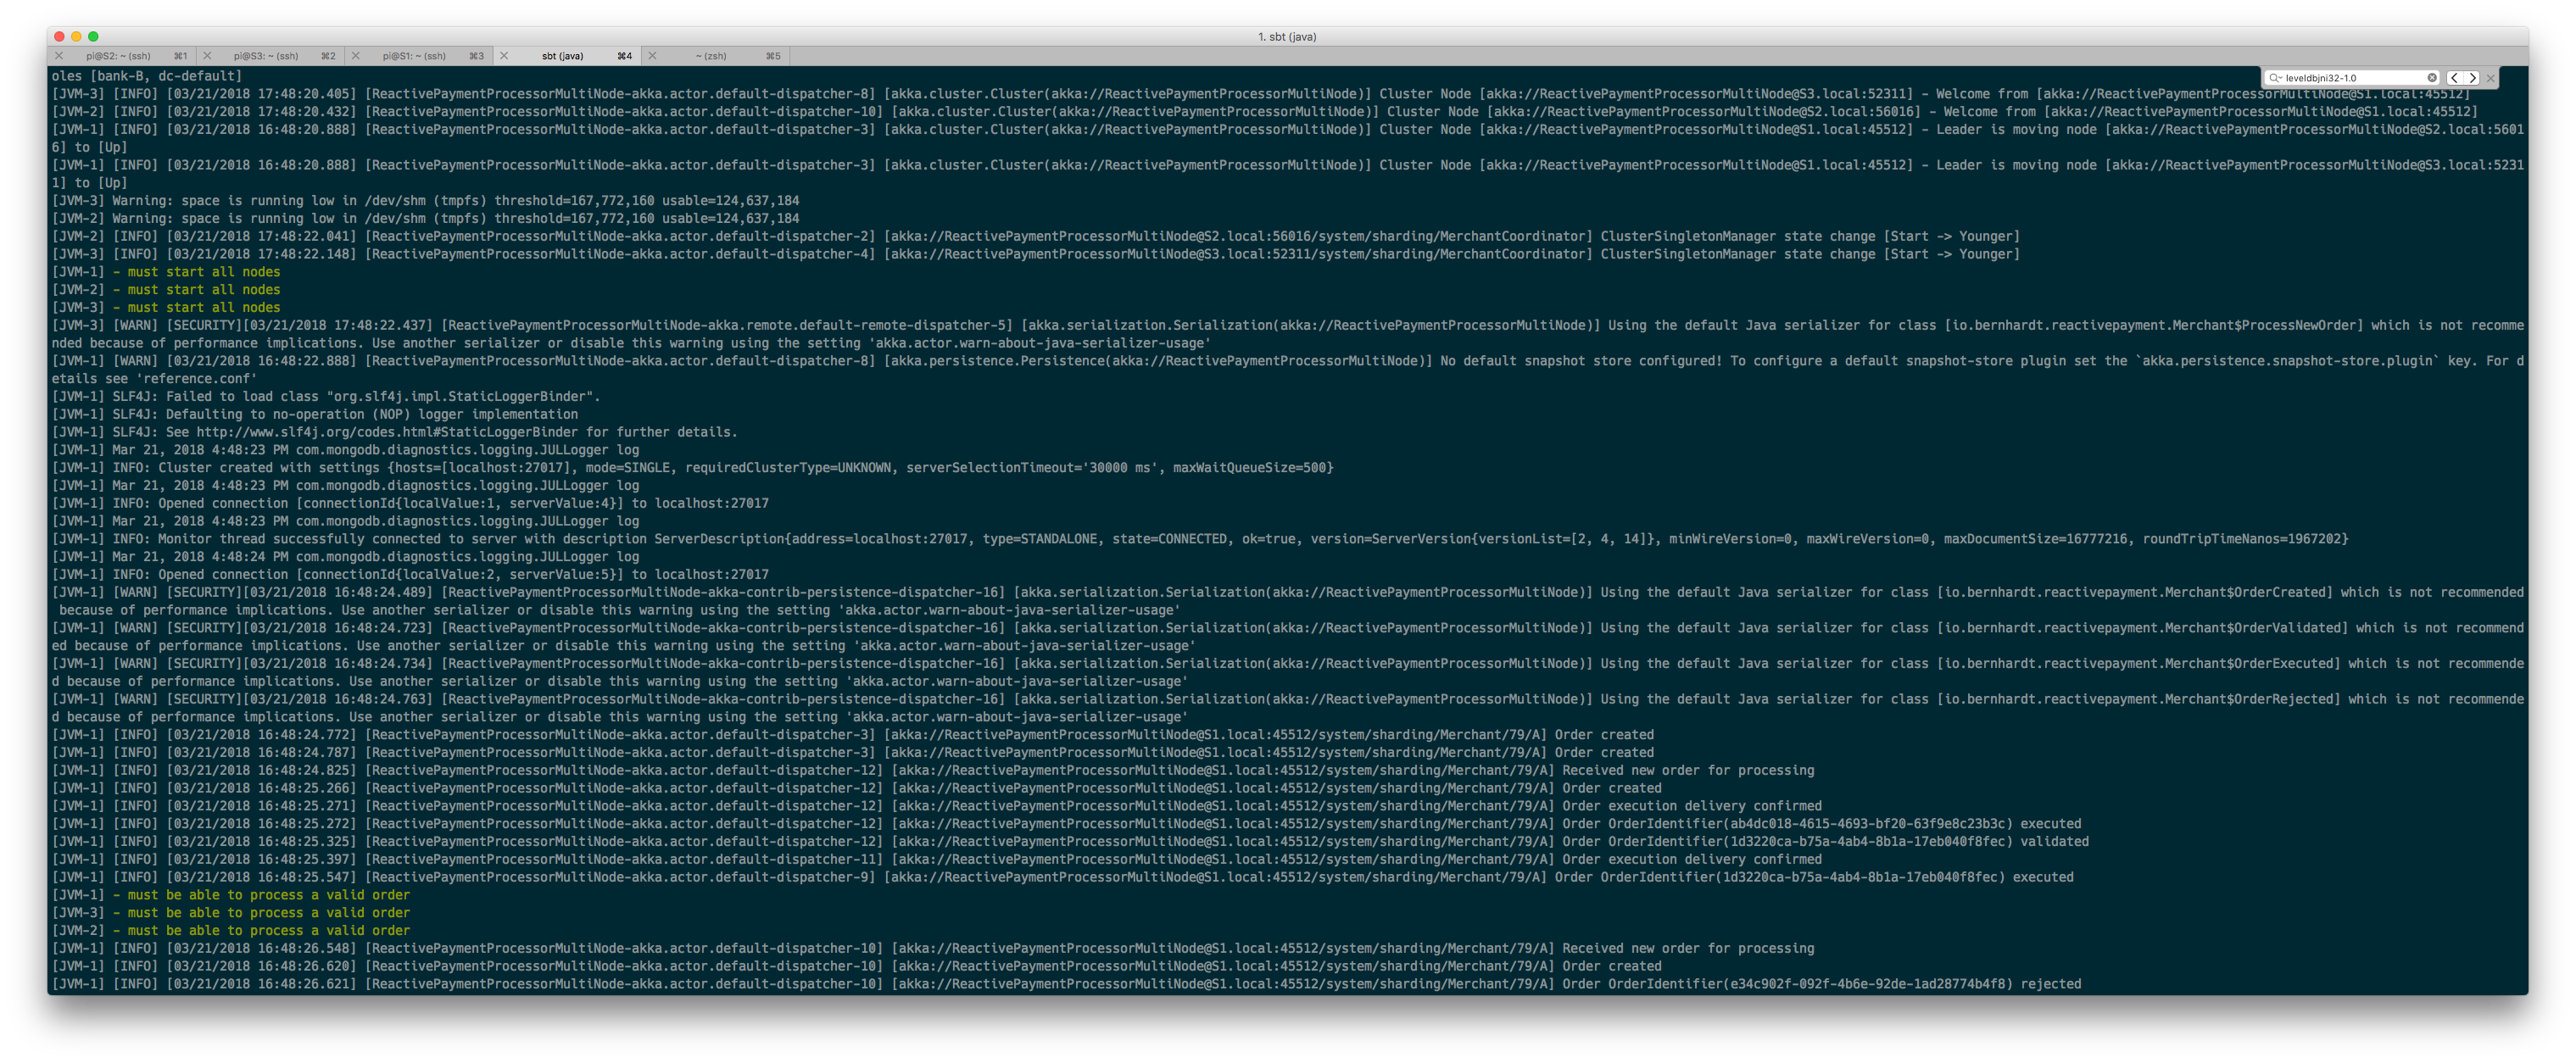
At this point, we can run the tests with the multi-node-test command:
[master] root: multi-node-test
This will package our application and the tests as a JAR file, send them to all test nodes with rsync and then execute them.
And then, it will fail:
[JVM-1] Uncaught error from thread [ReactivePaymentProcessorMultiNode-akka.persistence.dispatchers.default-plugin-dispatcher-14]: Could not load library. Reasons: [no leveldbjni32-1.0 in java.library.path, no leveldbjni-1.0 in java.library.path, no leveldbjni in java.library.path, /tmp/libleveldbjni-32-1-3938197549531613550.0: /tmp/libleveldbjni-32-1-3938197549531613550.0: cannot open shared object file: No such file or directory (Possible cause: can't load IA 32-bit .so on a ARM-bit platform)], shutting down JVM since 'akka.jvm-exit-on-fatal-error' is enabled for for ActorSystem[ReactivePaymentProcessorMultiNode]
That’s right! Just like in 2016 there’s no LevelDB JNI version for 32 bit ARM. So just as in 2016, here comes MongoDB to the rescue!
Installing and configuring MongoDB for persistence on the PI
The akka-persitence-mongo plugin will help us out of this. We need to add two more dependencies:
| |
And install MongoDB on the PIs:
pi@S1:~ $ sudo aptitude install mongodb-server
Finally, we also must update the multi-node configuration to use in our tests. For convenience, we just create a second one so we can switch from one to the other:
| |
Don’t forget to use this config in the test instead of the previous one.
This time, our tests pass beautifully:
Conclusion
In this article we have explored the concept of multi-node spec, multi-node test coordinator and have seen how to configure an Akka Cluster project with the sbt-multi-jvm plugin to run a test both locally and on multiple real nodes. This is the foundation for running more advanced scenarios involving the failure of specific nodes which will allow us to verify that our system is indeed failure-tolerant in practice, and not only in theory. Stay tuned!
- Part 1: Akka Distributed Data
- Part 2: Eventual Consistency, Persistent Actors and Message Delivery Semantics
- Part 3: Cluster Sharding
- Part 4: Testing with the multi-node TestKit and a handful Raspberry PIs